Struggling with thinning hair and looking for the perfect mid-length style that will make your fine hair look fuller and more vibrant? These easy-to-maintain haircuts specifically designed to create the illusion of volume in extremely thin hair. From the classic Long Bob to trendy Curtain Bangs, each style comes with professional styling tips, essential hair care rules, and heat protection strategies – all designed to help you achieve the fullness and confidence you deserve, without spending hours on styling.
Hi beautiful! I’m Sofi, and just like you, I’ve been on quite the journey with my hair.
When I hit 40, I started noticing some changes in my hair that nobody had warned me about — it was getting thinner, especially around my temples and crown. Those moments in front of the mirror became a bit more challenging, and I know exactly how it feels to try styling hair that seems to have lost its former glory.
But here’s the thing: after years of trial and error (and yes, some tears along the way), I’ve learned that thin hair doesn’t mean we can’t look fabulous!
My friend is a hairstylist with over 20 years of experience (who’s now dealing with the same challenges — yeah, that’s life), and she’s been helping me figure out what really works for our hair type.
And today, I’m excited to share all these secrets with you!
Rules for thin hair
Before we get into hairstyles, let’s talk about what’s really important for thin hair: how to style, how to care, and how to wear))).
Remember, even if our hair is fine, that doesn’t mean we have to settle for a bad hairstyle! These are tips and tricks that my professional friend, a stylist, gave me. I’ve tested them all on my own thinning hair, and they work.
The Golden Rules for Thin Hair Care:
- Be gentle! Our hair is delicate, so no rough brushing or tight ponytails → Thin hair breaks easily, and any tension can cause permanent loss at the follicle level
- Use lukewarm water (hot water can weaken hair strands) → Hot water opens the cuticle too much, making hair more prone to damage and frizz
- Invest in a silk pillowcase → Cotton causes hair to rub against each other, which can break the hair. Silk lets hair slide, which prevents breakage.
- Choose volumizing products that don’t weigh hair down → Heavy products can flatten thin hair at the roots, making it look even thinner
- Avoid heavy conditioners near the roots → They can clog hair follicles and make roots limp, reducing volume where we need it most
- Consider taking biotin supplements → Biotin strengthens hair structure from within, making strands more resilient
- Massage your scalp daily → Increases blood flow to follicles, promoting better nutrient delivery and healthier growth
- Use dry shampoo strategically → Absorbs oil while creating texture and lift at the roots, giving hair more body
YOU MIGHT…
Hair Repair Essentials: Everything you need for hair loss and thin hair
Heat Protection Essentials:
- Always use heat protectant → Creates a protective barrier between hot tools and your hair, preventing moisture loss and damage
- Invest in quality heat tools with temperature control → Cheap tools often have uneven heat distribution, causing hot spots that can burn hair
- Keep heat settings between 300-350°F maximum → Thin hair burns more easily than thick hair; higher temperatures can permanently damage the hair structure
- Never style soaking wet hair → Wet hair is more fragile and susceptible to heat damage; water inside the hair shaft can actually boil
- Use cool air settings to seal the cuticle → Cold air closes the hair cuticle, locking in moisture and creating shine
- Give your hair heat-free days → Allows hair to recover and retain natural oils that protect and nourish strands
- Deep condition weekly → Replaces moisture lost from heat styling, preventing brittleness and breakage
- Use a microfiber towel → Regular towels are too rough and can damage wet hair; microfiber is gentler and absorbs water better
- Consider a bond-building treatment → Repairs and strengthens the internal structure of hair that’s been weakened by heat
- Always section hair properly → Ensures even heat distribution and prevents overexposure to any one area of hair
Heat-Free Styling Alternatives:
- Overnight braids for waves
- Foam rollers while you sleep
- Twist-and-clip methods
- Air-drying with proper products
- Pin-curling techniques
Haircuts for Mid-Length Thin Hair
And now let’s chat about some awesome hairstyles that can help you get the most out of your thin, mid-length hair and make it look its best!
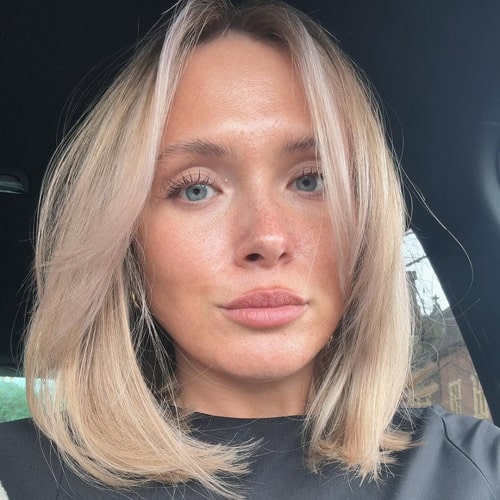
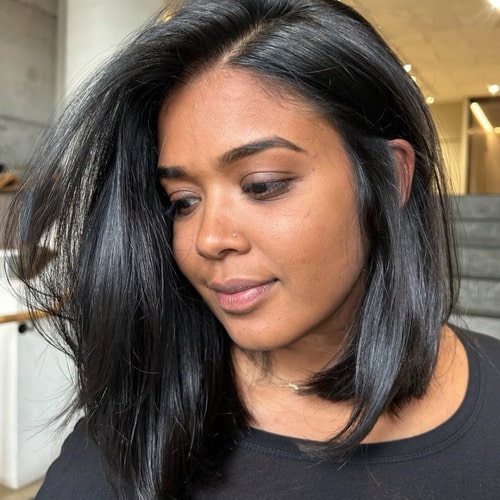
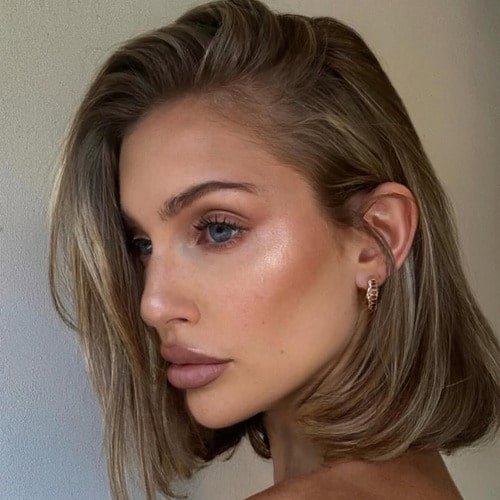
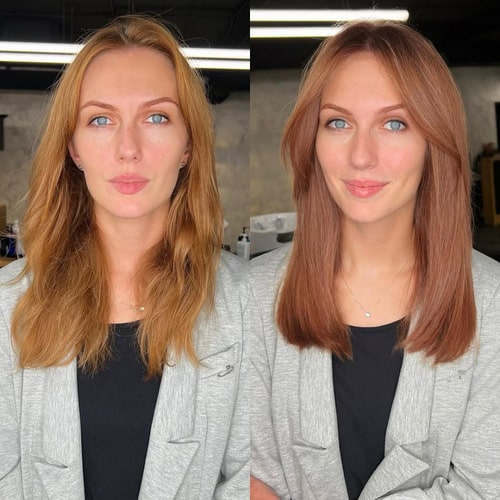
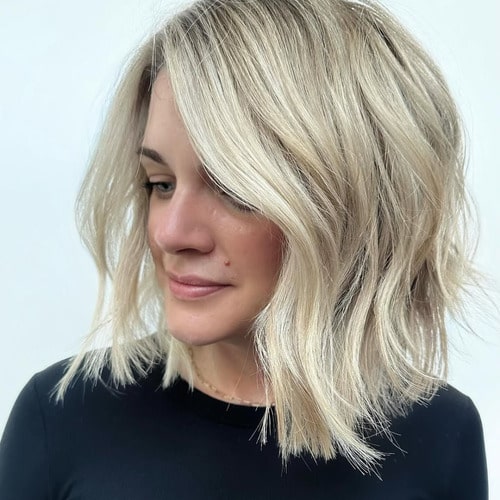
1. The Long Bob (Lob)
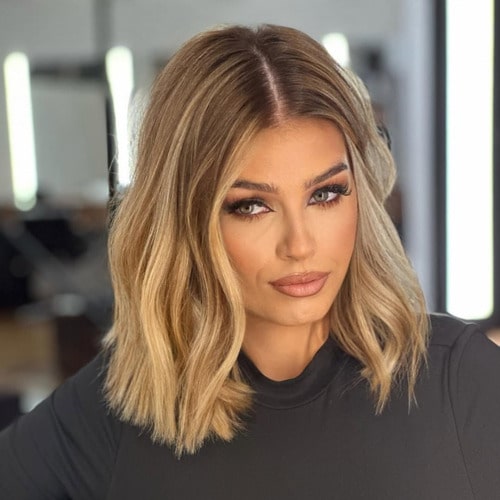
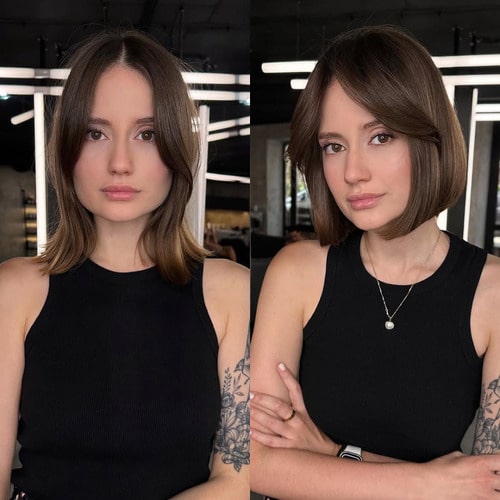
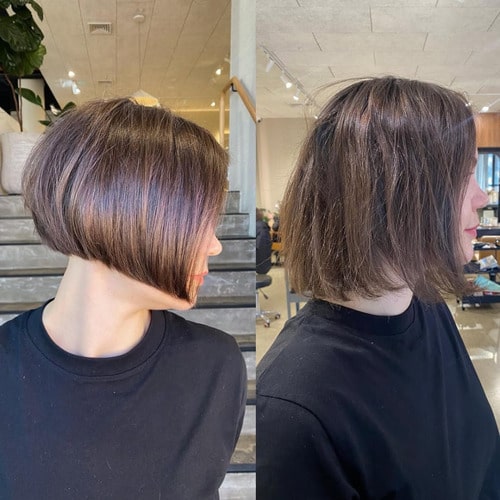
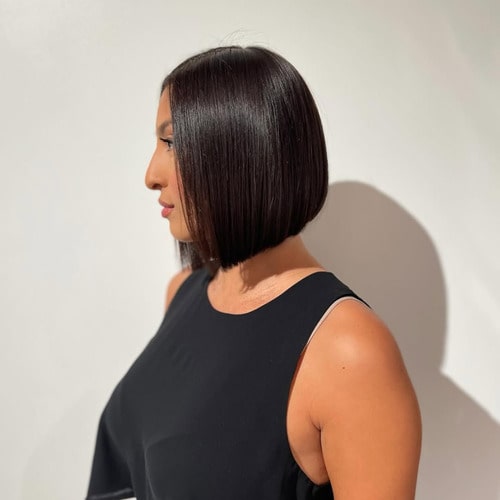
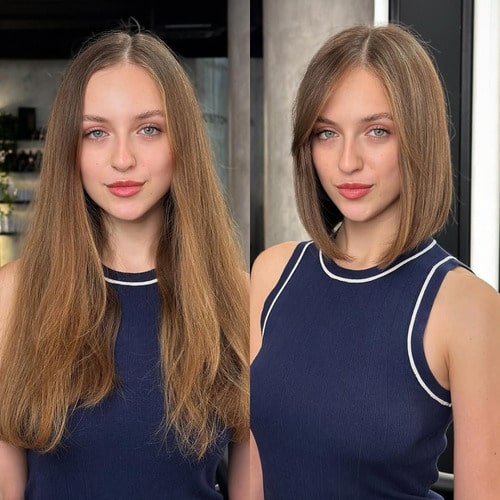
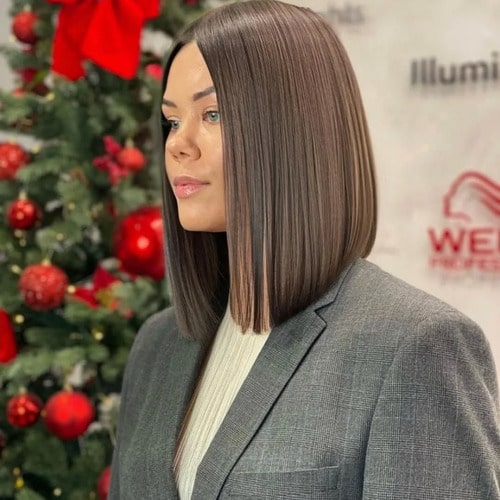
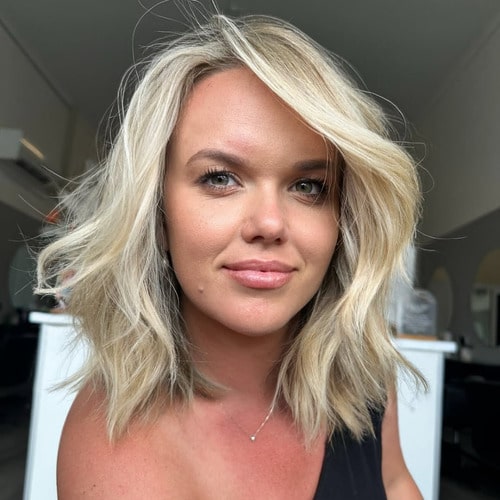
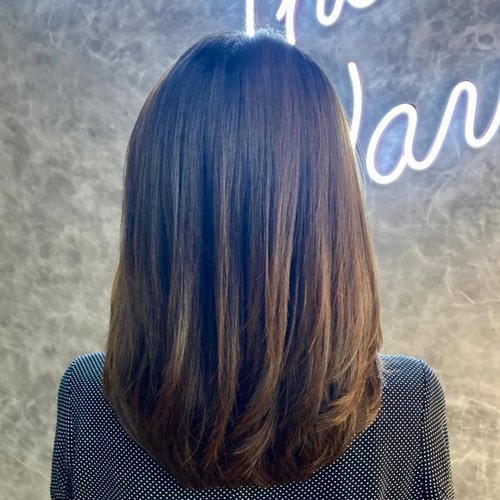
Makes thin hair look thicker because of the blunt cut at the bottom. The ideal length hits right at or slightly below the collarbone. Ask your stylist for a blunt cut with very minimal layering. Style by applying volumizing mousse to damp roots, then blow-dry with a round brush, flipping the ends slightly inward or outward. Use a root-lifting spray before drying for extra volume.
Pro tip: Always apply a heat protectant spray before blow-drying! Heat damage can make thin hair even more fragile, so keeping your dryer on medium heat and holding it 6 inches away from your hair is crucial. Finish with the cool shot button to seal the cuticle.
Perfect for both office and casual looks!
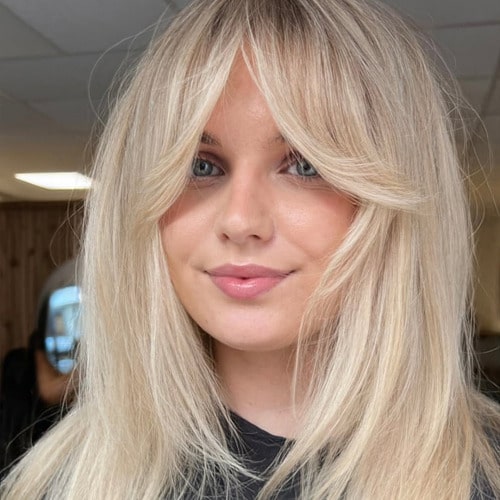
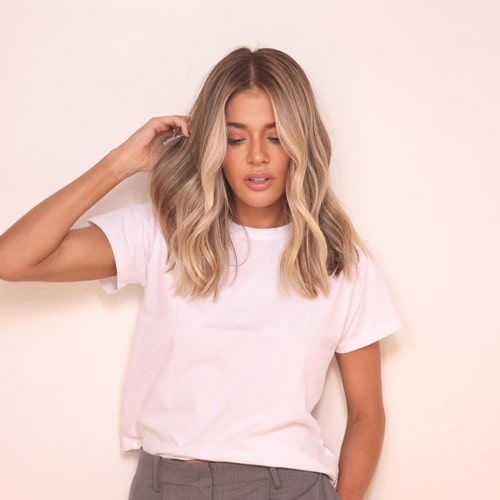
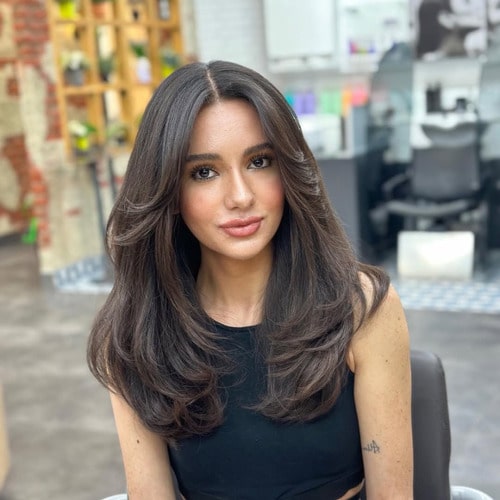
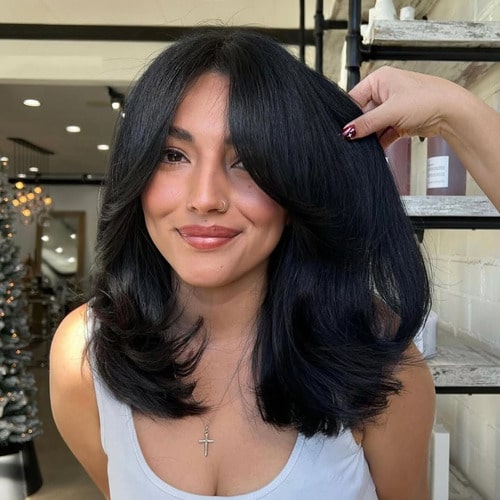
2. Face-Framing Layers
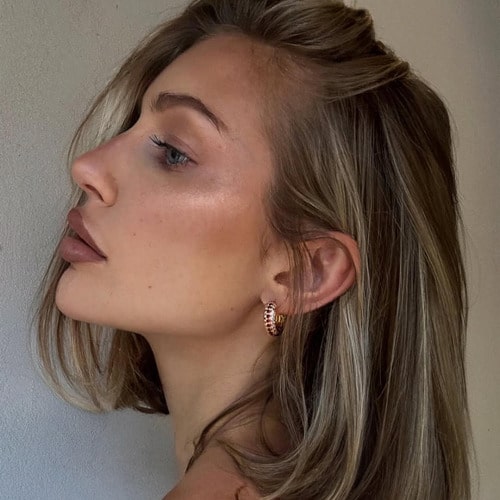
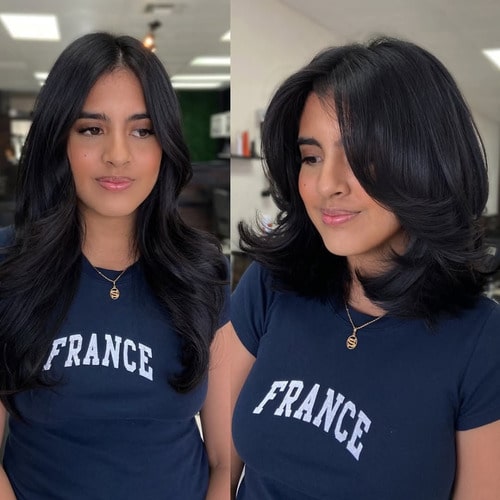
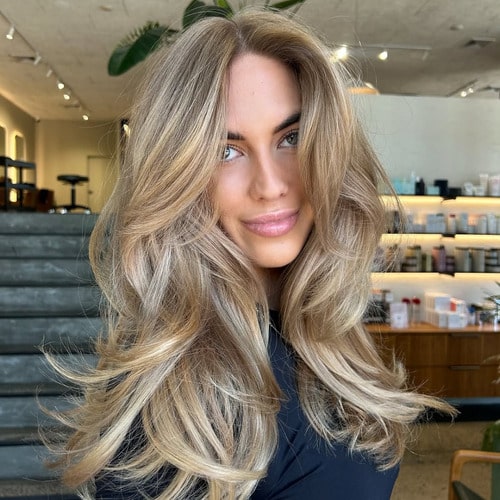
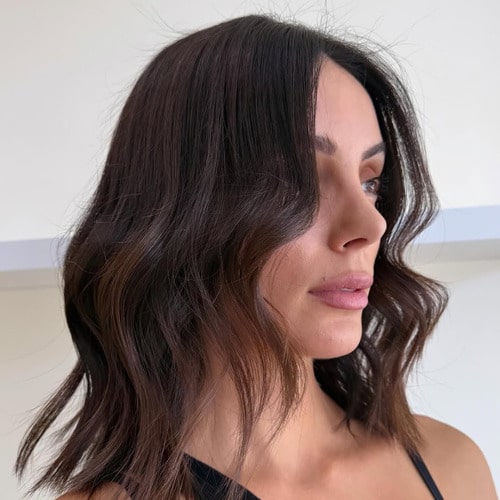
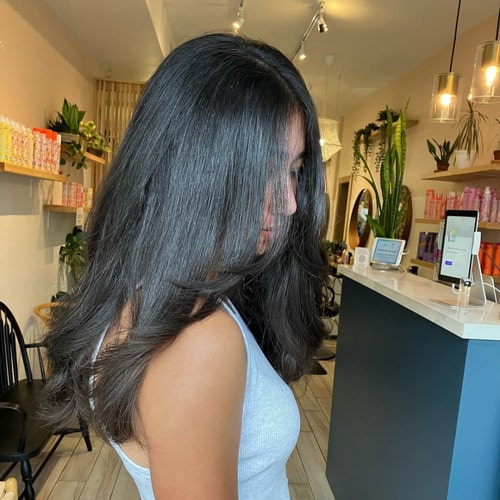
These soft layers around your face create movement and volume without removing too much bulk from your hair. These layers also help hide thinning around the temples.
Ask for long, wispy layers that start at chin level.
The best part? They’re super low-maintenance – just spritz with texturizing spray and scrunch!
Pro tip: For special occasions, style with a 1-inch curling iron, curling face-framing pieces away from your face. Start with a lower temperature (around 300-325°F) and never go above 350°F. A good heat protectant is non-negotiable here!
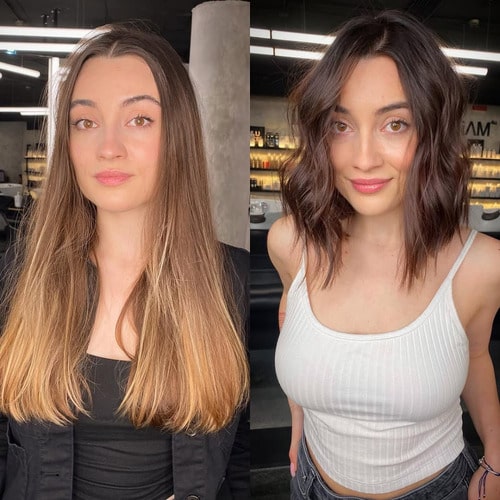
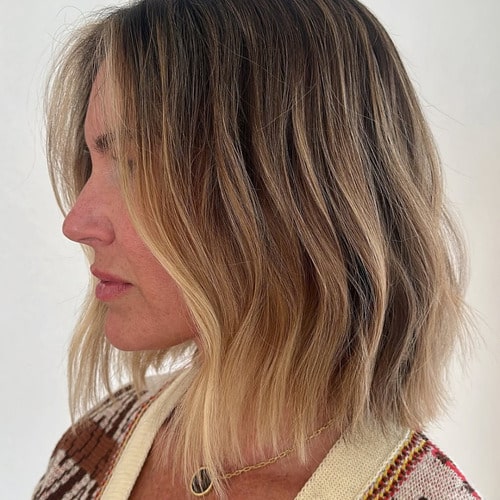
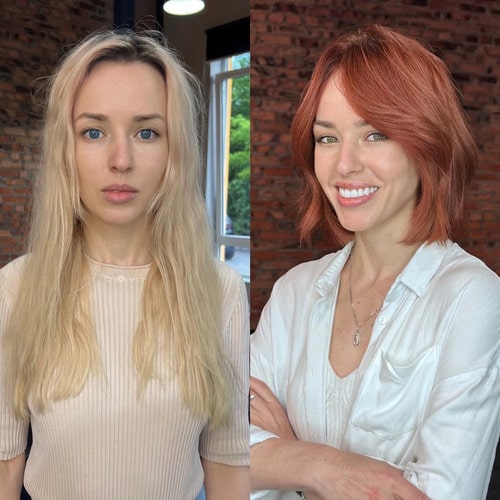
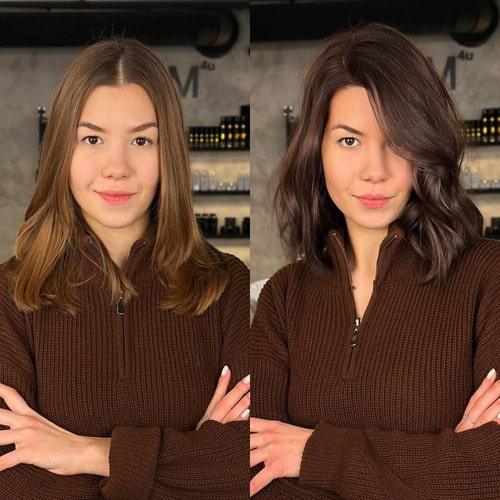
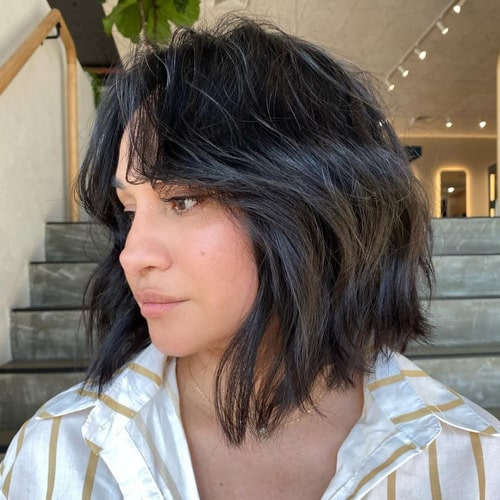
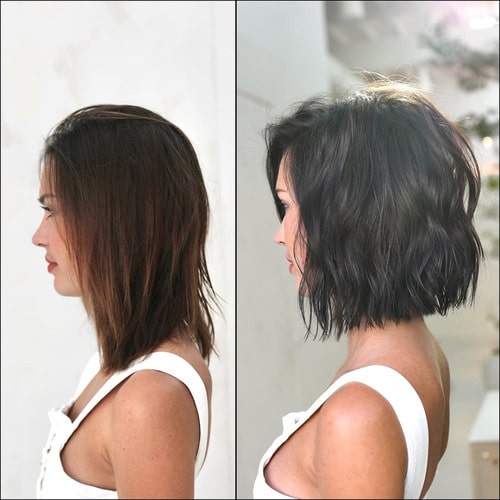
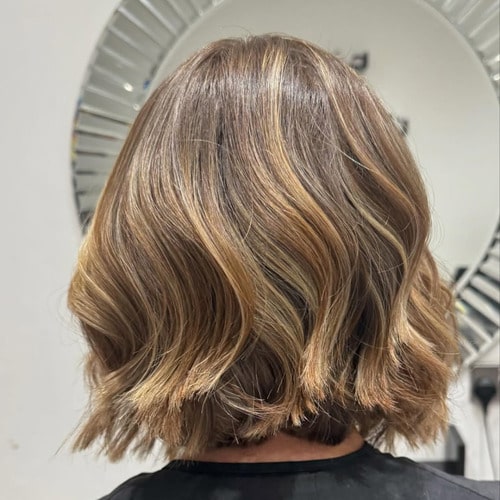
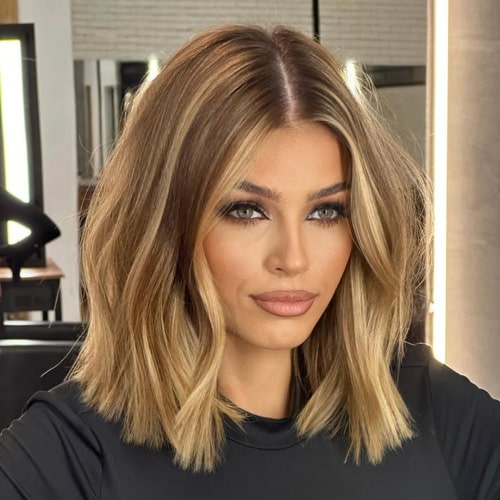
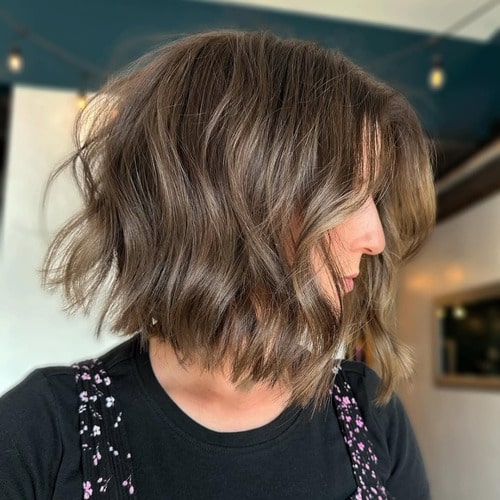
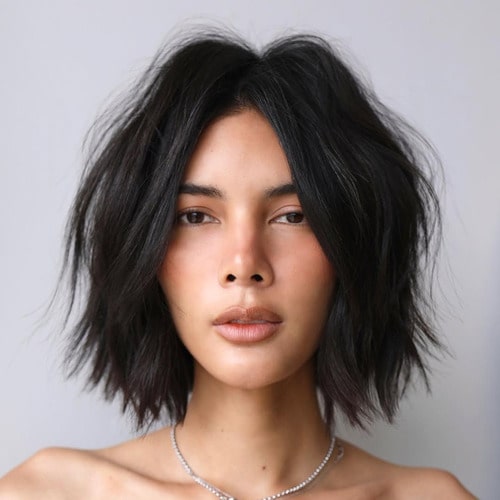
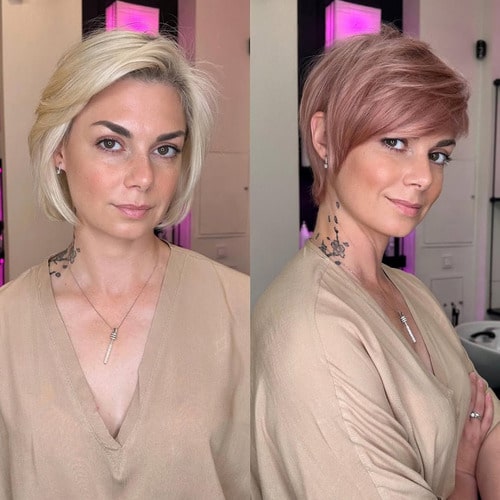
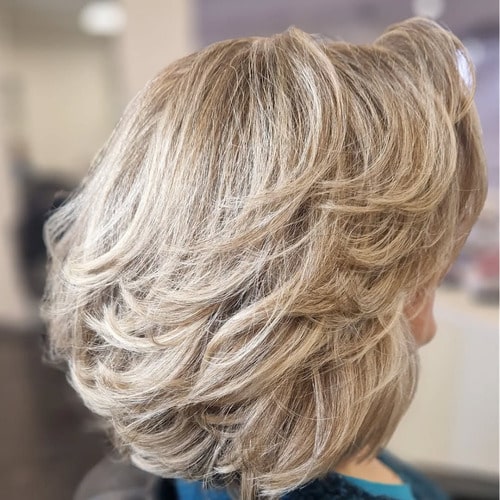
3. Textured Bob with Subtle Layers
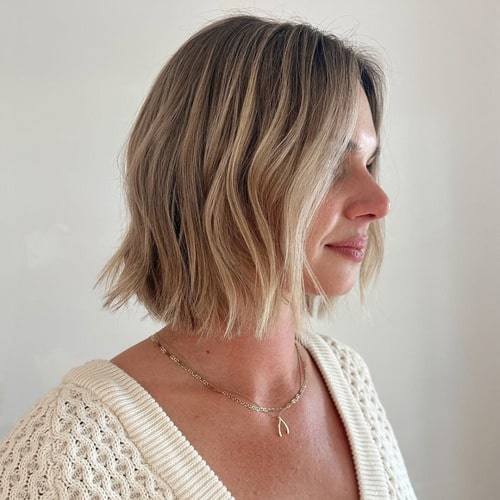
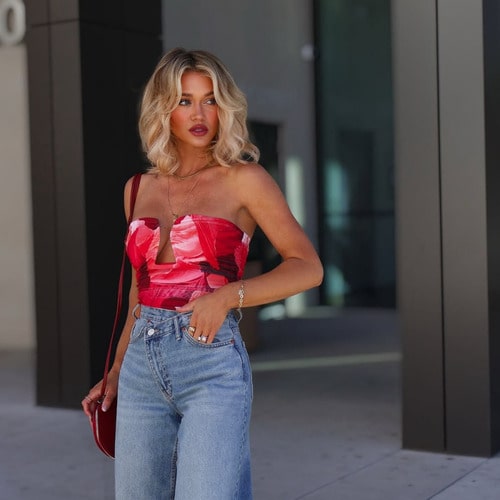
The choppy ends make hair look fuller without removing too much bulk.
The key is point-cutting at the ends rather than traditional layering. Use a flat iron to create subtle bends for that lived-in texture.
Start by applying heat protectant, then create loose “S” waves by twisting your flat iron as you go down each section. Finish with dry texture spray for piece-y definition.
4. Deep Side Part
Such a simple trick that makes a huge difference!
Switching your part instantly creates volume at the crown.
Start with damp hair and apply volumizing mousse. Create a deep side part while blow-drying, using a round brush to lift at the roots. Tease the roots slightly at the crown and spritz with dry shampoo. For extra staying power, set your part with cool air from your dryer.
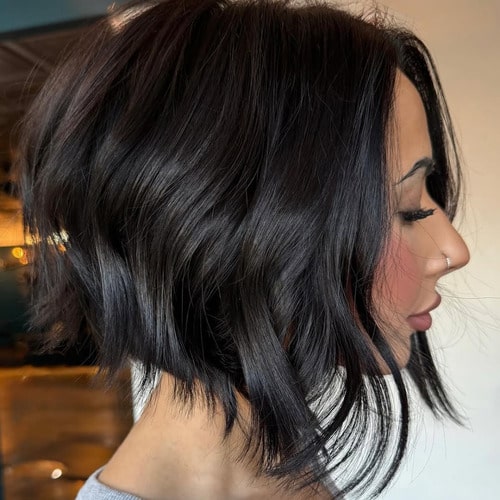
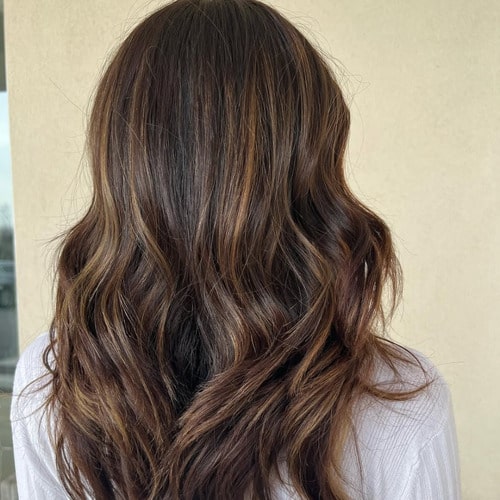
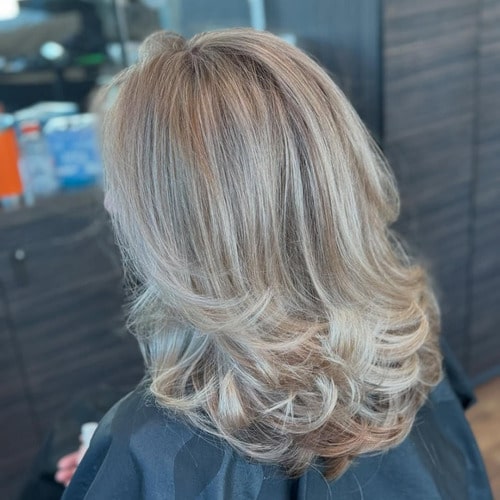
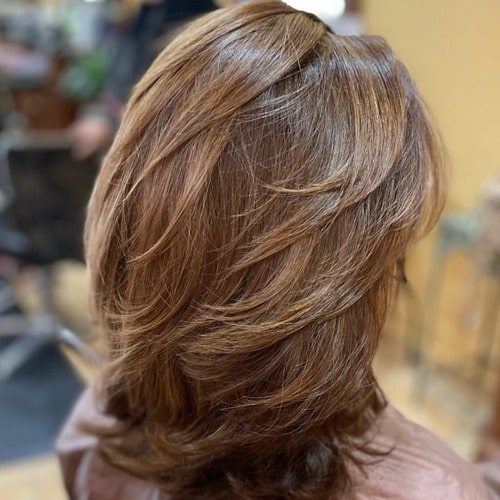
5. Stacked Layers in the Back
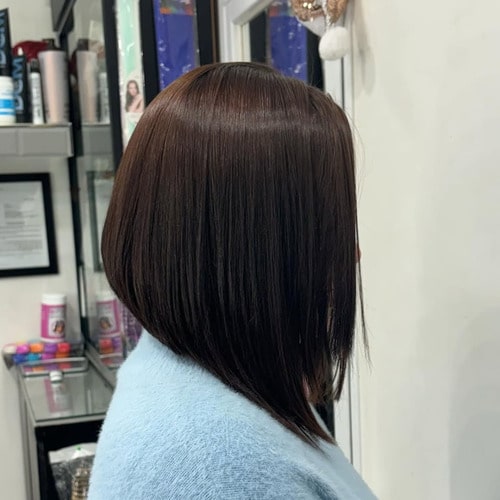
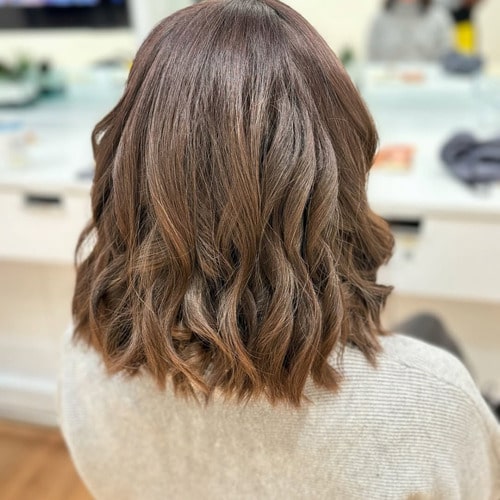
Creates amazing volume at the back of your head through graduated layers.
The back is slightly shorter and stacked, while the front remains longer.
Style with a round brush, lifting at the roots while drying. Use a volumizing powder at the crown for extra lift. This cut requires regular trims every 6-8 weeks to maintain its shape but is worth the maintenance!
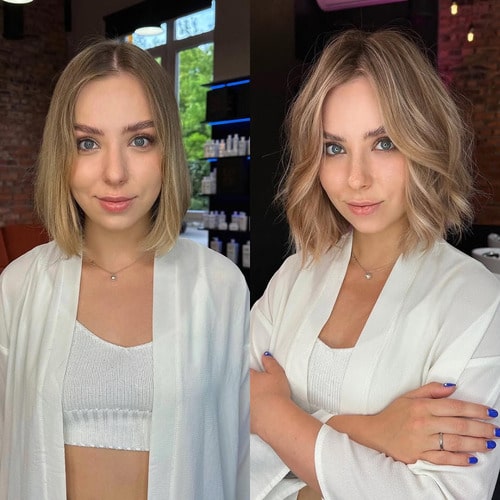
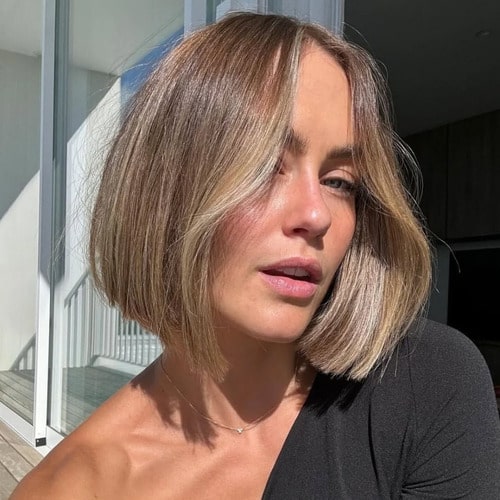
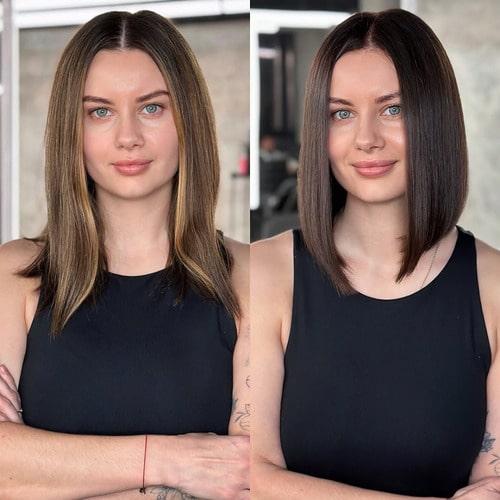
6. Blunt Cut with Subtle Waves
The clean, straight line at the bottom makes hair look thicker instantly. Ask your stylist for a blunt cut with absolutely no layers.
Create loose waves with a 1-inch curling iron, alternating the direction of each wave. Start with a heat protectant spray, then section hair horizontally. Work in small sections, leaving the ends out for a more modern look. Finish with a lightweight hairspray that won’t weigh hair down.
Pro tip: Before using that curling iron, remember that thin hair needs extra heat protection. Start with a heat protectant spray or cream that’s specifically designed for fine hair. The sweet spot for temperature is usually between 300-350°F – any hotter can cause permanent damage to fine strands.
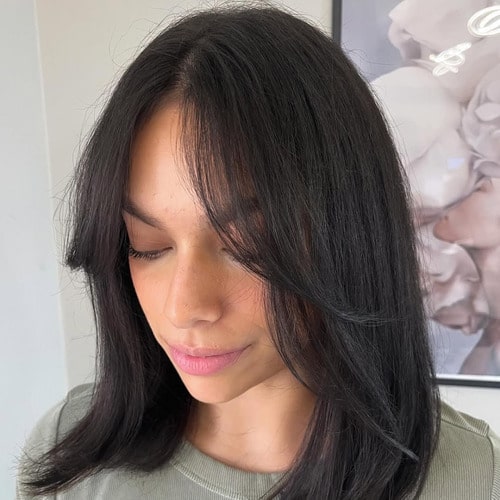
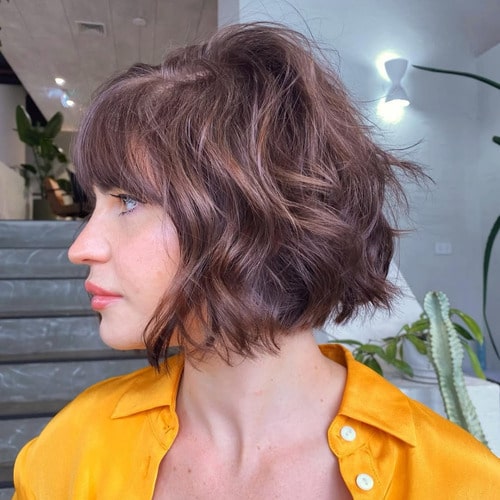
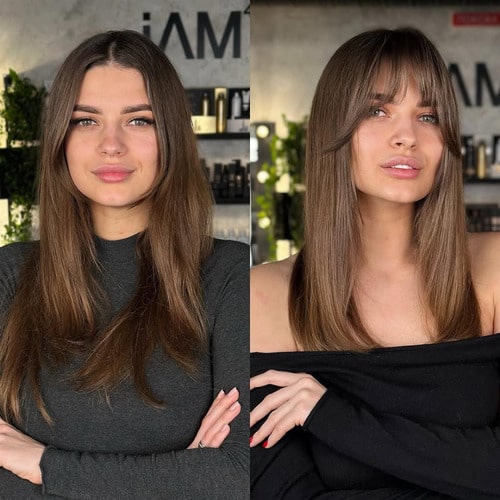
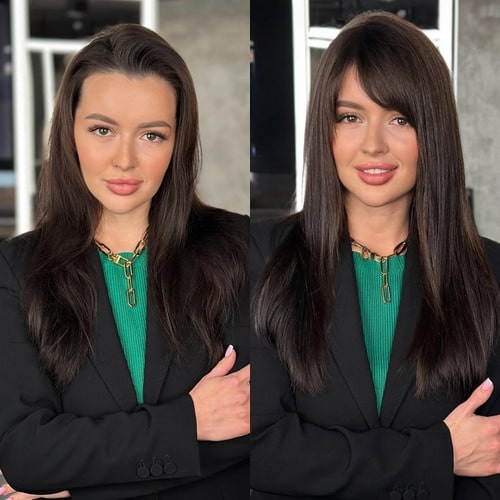
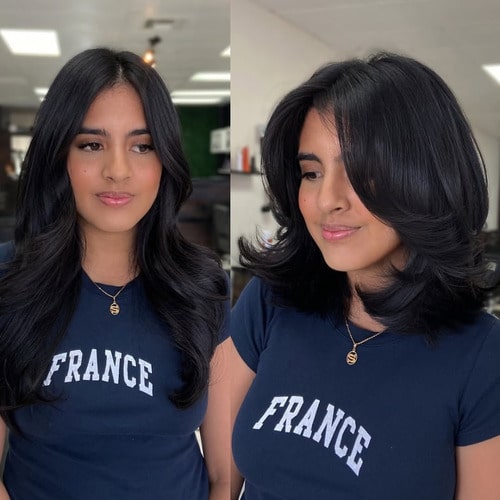
7. Curtain Bangs
They’re so trendy right now and perfect for thin hair!
Start with damp hair and apply a volumizing mousse. Part bangs down the middle and style with a round brush, curling them away from your face. Use a medium-sized round brush for the perfect swoopy effect.
For second-day styling, use dry shampoo at the roots and quickly re-style just the bangs with a blow dryer. Perfect for adding face-framing volume without the commitment of full bangs!
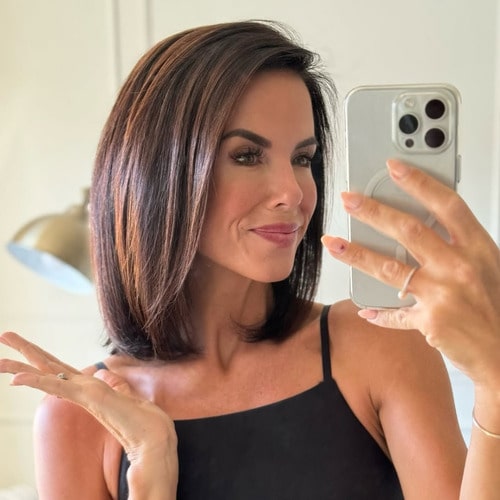
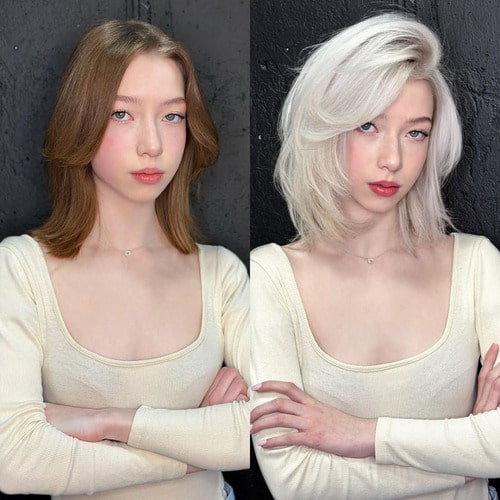
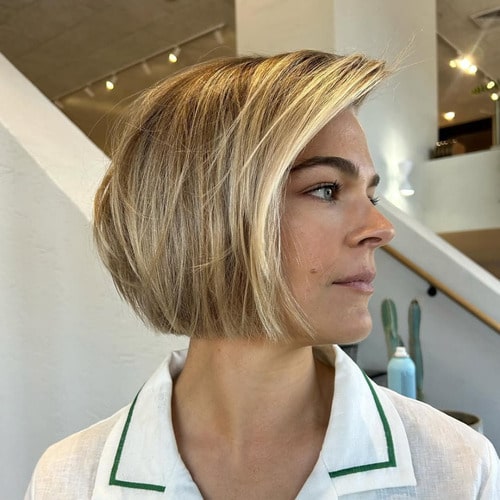
8. Graduated Bob
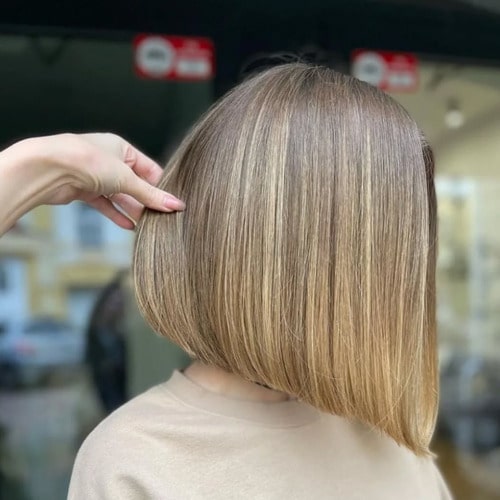
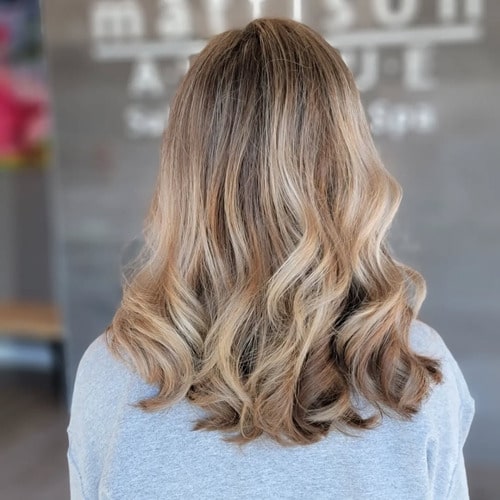
Slightly shorter in the back and longer in the front – this creates natural volume! The angle should be subtle – about 1-2 inches difference between back and front. Apply volumizing mousse to damp hair, then blow-dry with a round brush, lifting at the roots. Create volume by drying small sections at a time, always lifting away from the scalp. Perfect for professional settings while still being stylish!
Pro tip: Since this style often relies on heat styling for that sleek look, proper heat protection is crucial. Use a lightweight heat protectant serum or spray, and keep your flat iron at medium heat. Remember: thin hair conducts heat more quickly than thick hair, so you need less heat to achieve the same results!
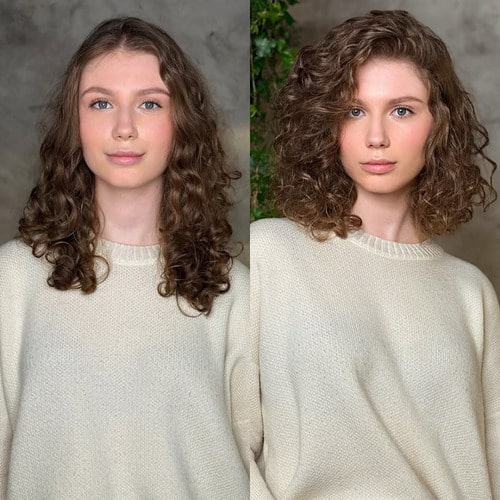
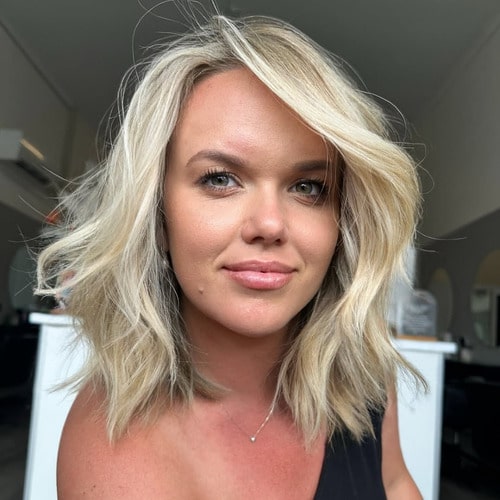
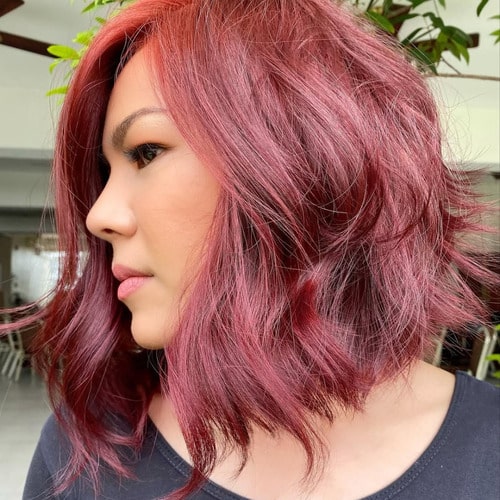
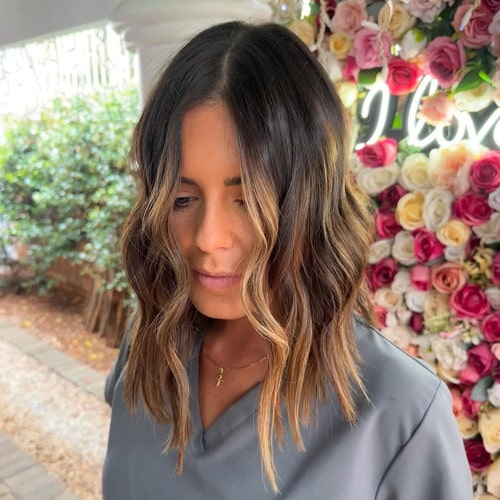
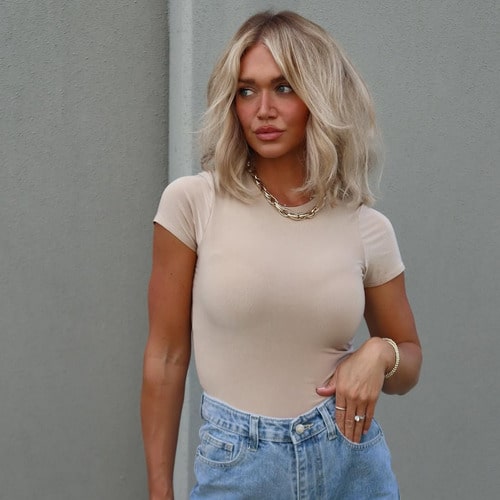
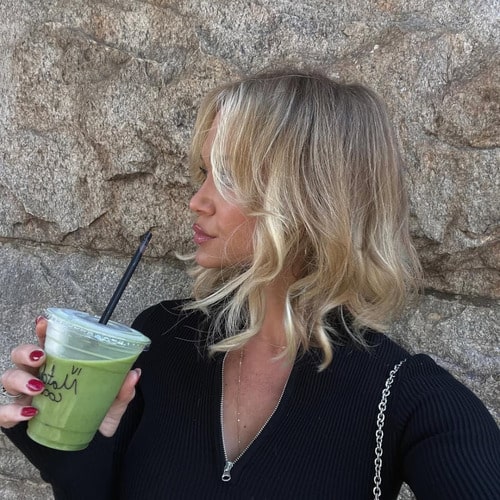
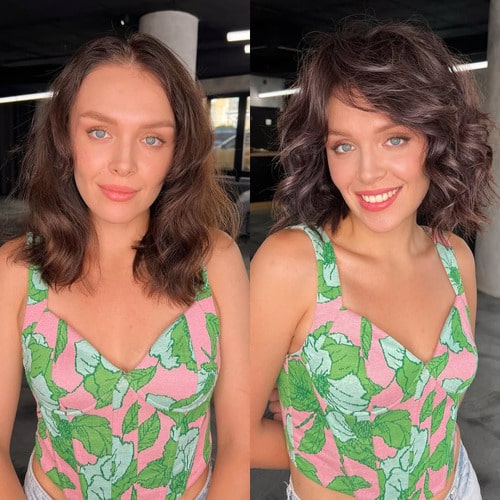
9. Tousled Beach Waves
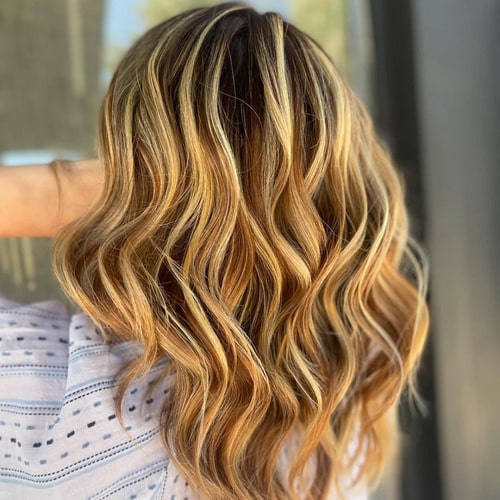
Perfect for adding texture and movement to thin hair.
Start by applying a salt spray to damp hair. Twist small sections while air-drying, or use a diffuser for faster results.
For more defined waves, braid damp hair in 4-6 loose braids before bed. Wake up, undo braids, and scrunch with texturizing spray. The key is not to brush it out – just use your fingers to style.
10. Choppy Ends
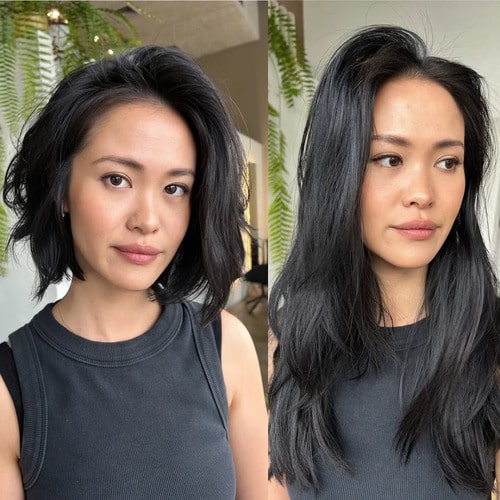
Light texturizing at the ends creates movement without removing bulk.
Your stylist should point-cut the ends instead of cutting straight across.
Use texturizing spray and piece out the ends with your fingers. For extra texture, twist small sections and quickly run a flat iron over them.
This style works great for both straight and wavy hair textures.
Chopped haircuts are a great way to add some fun volume, definition, and movement to your hair. Depending on how your stylist cuts it, you can get an asymmetrical or blunt look that will make you feel awesome!
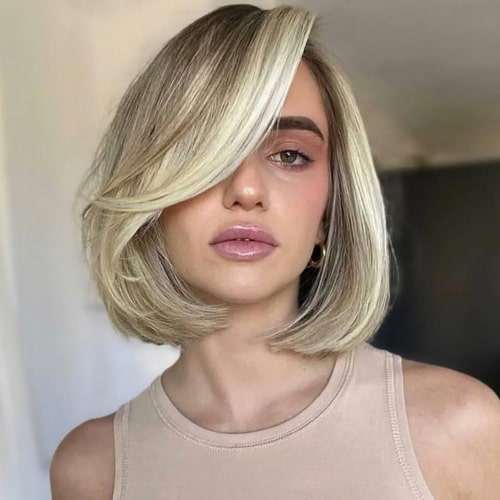
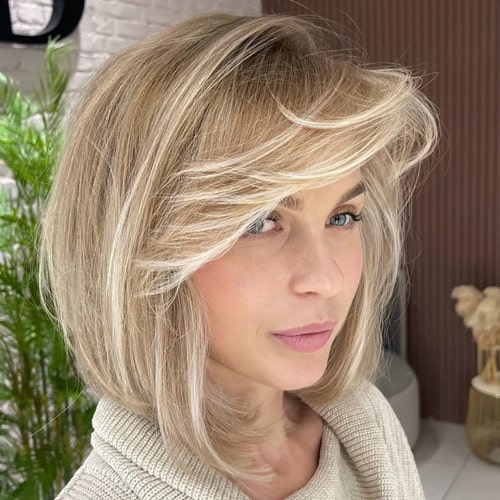
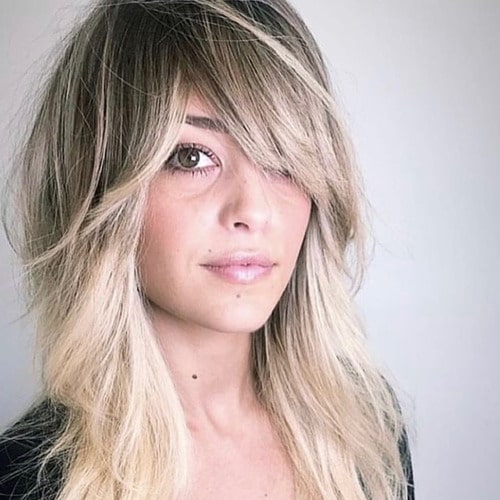
11. Side-Swept Bangs
They create an illusion of fullness at the crown and hide any thin spots around the forehead.
Bonus: They’re very forgiving as they grow out!
Ask for bangs that start from a deep side part and sweep across your forehead. Style them with a small round brush while blow-drying – direct the airflow from above, pointing downward. Use a lightweight smoothing cream to tame frizz without weighing them down.
Pro tip: Since this style relies on flat iron waves, heat protection is essential. Apply your heat protectant to clean, dry hair in sections. Keep your flat iron at medium heat (320-350°F max for thin hair) and never go over the same section twice. If your hair feels hot to touch, that’s too hot!
12. U-Shaped Cut
The rounded shape makes hair look fuller at the bottom while maintaining length. The sides should be slightly shorter than the middle back.
Blow-dry upside down for extra volume at the roots, then finish styling right-side up with a round brush. Use volumizing powder at the crown and mid-lengths for added body.
This cut is especially flattering when curled or waved.
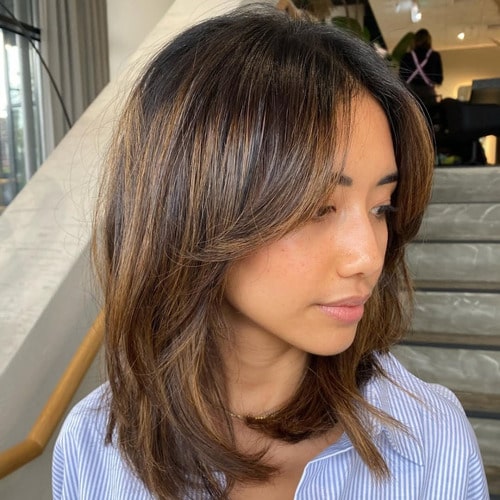
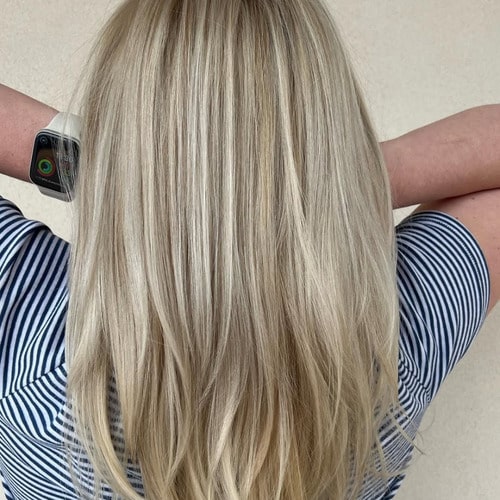
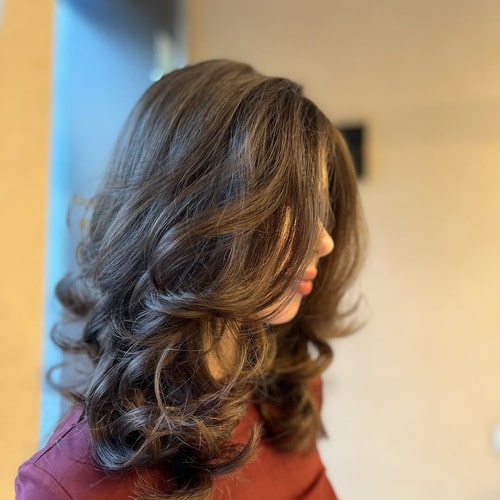
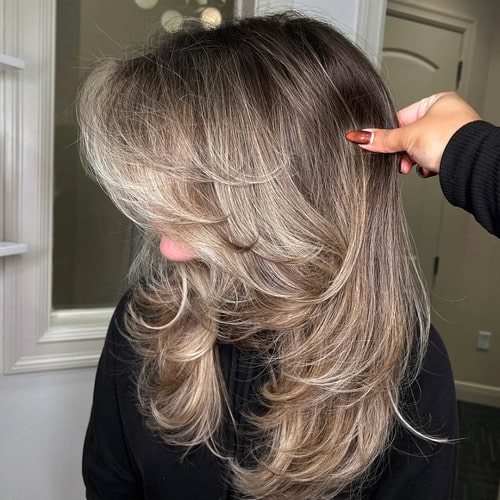
13. Swoopy Layers
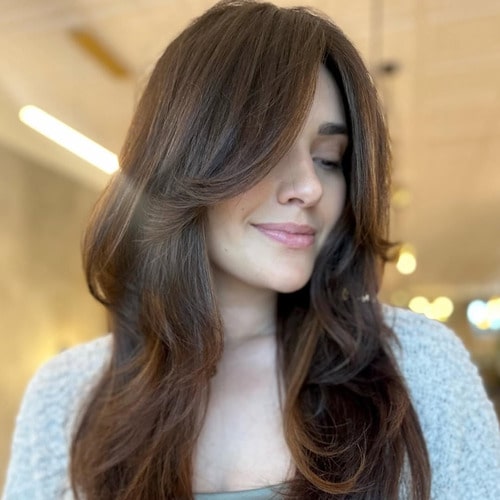
Long, subtle layers that swoop to one side create movement and volume without sacrificing fullness.
Start with a deep side part and layer length that begins at the cheekbones. Style with a large round brush while blow-drying, directing the hair in the direction you want it to swoop. Use a root-lifting spray before drying and finish with a light-hold hairspray.
Don’t forget: thin hair can look beautiful! The key is choosing the right cut, treating your hair gently, and using the right techniques and products for your hair type.
Most importantly, be patient with your hair and treat it well. With the right cut, proper care, and these styling tips, you’ll be amazed at how fantastic your thin hair can look!
You deserve to glow!
See you soon,
Sofi


